A 5'3 Perspective


2 Comments

No Bake Pumpkin Bites

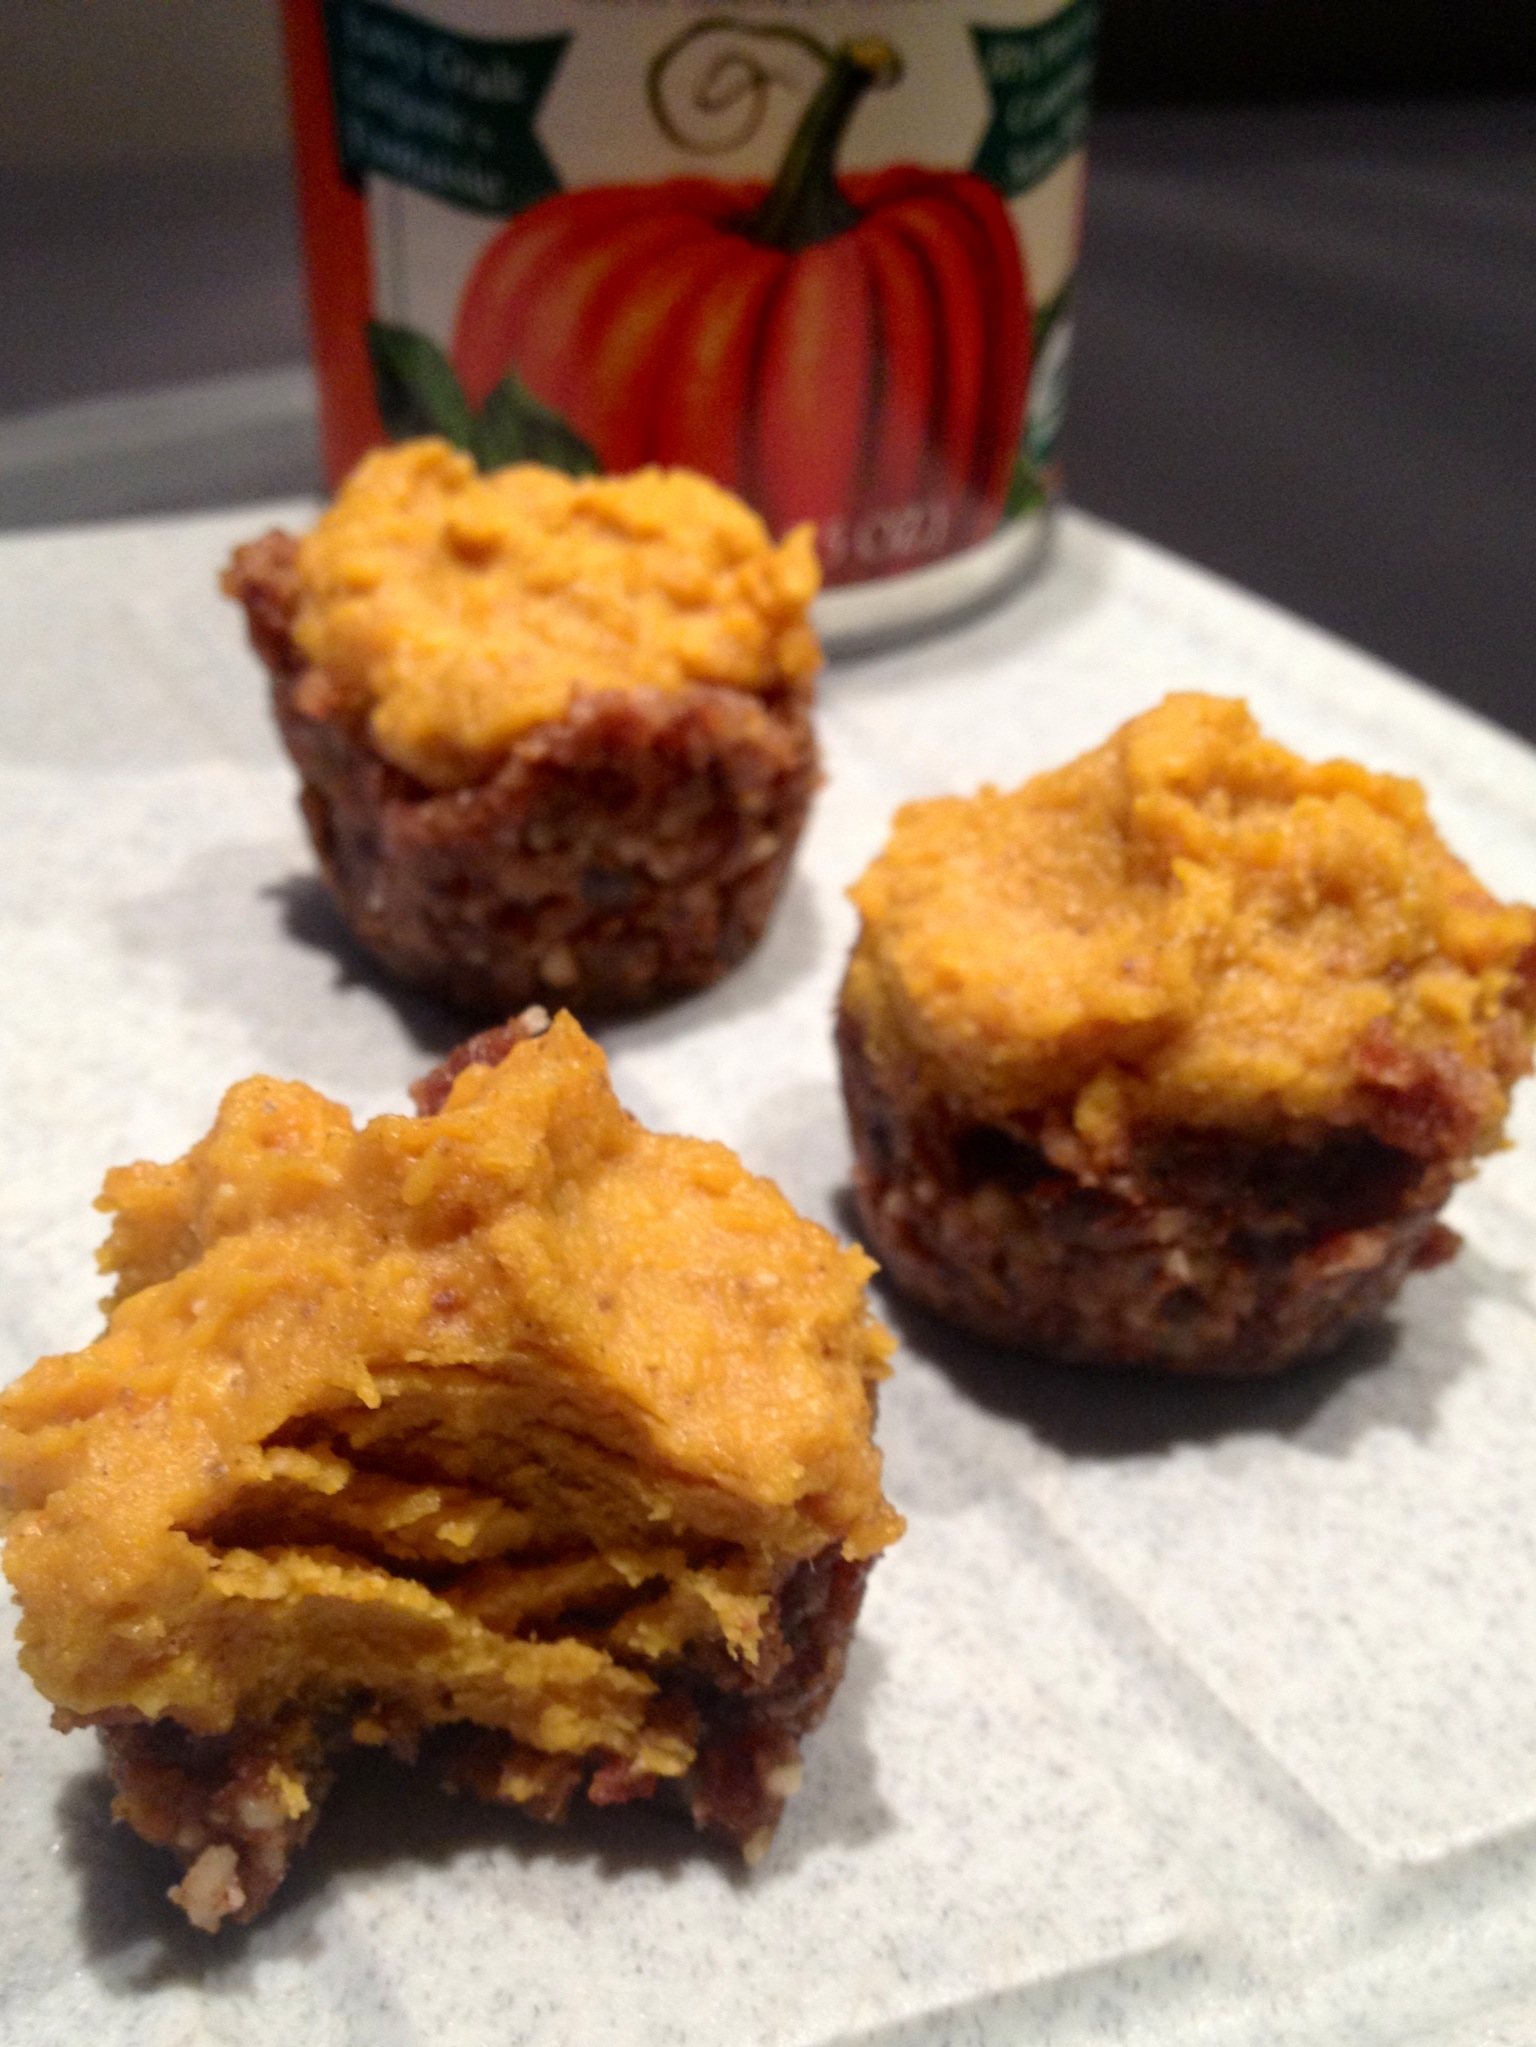
I am really sharing this recipe at an odd time of the year. Pumpkin season has long passed, but I just couldn’t resist bringing it back to make these tiny, tasty treats. Luckily, pumpkin puree is quite easy to find year round at most natural food stores so you can make these no bake pumpkin bites too! Oh and they are healthy – not that you could tell by tasting them.

No Bake Pumpkin Bites

Recipe from: Cara’s Cravings

No Bake Pumpkin Bites

Ingredients

Crust:
1 lightly packed cup cooking dates
2/3 cup raw pecan (or walnut) halves
1/2 tsp ground cinnamon

Filling:

2 tbsp coconut butter (not oil) at room temperature
1/2 cup 100% cooked pumpkin puree at room temperature
2 Tbsp pure maple syrup, preferably grade B
1/2 tsp pure vanilla extract
1/2 tsp ground cinnamon
1/4 tsp ground ginger
1/8 tsp ground nutmeg
1/8 tsp ground cloves

Directions

  1. In a food processor, combine nuts, dates and cinnamon. You may want to put the dates in first and pulse a bit to chop them. Process until mixture becomes crumbly which should take about a minute. Remove from food processor.
  2. In a bowl, combine coconut butter and pumpkin puree. Make sure that both are at room temperature – if not the coconut butter will become too solid and will not mix well. If this happens, microwave the mixture for no more than 20 seconds.
  3. Add the remaining ingredients to the pumpkin and coconut butter mixture and stir until it is very smooth.
  4. Divide the crust evenly among 12 cups of a mini muffin tin.
  5. Using a wet finger press the crust into the tin and make an indentation in each.
  6. Fill each indentation with the pumpkin filling.
  7. Place the muffin tin in the fridge for at least two hours or until firm.

Just a warning. These little bites are extremely stubborn to remove from the muffin tin. I found the best method to coerce them out was to use a toothpick to loosen them around the outer edge, then pop them out. As long as they are firm they will not fall apart.

Store in an air tight container in the refrigerator.

Happy [no] baking!

xo Lauren


What’s For Dinner?

6 Comments

As you may or may not know, I have become a bit of a foodie over the past few years [probably because of my boyfriend], so I thought I’d share one of my favourite, healthy dinners. You probably haven’t seen this dish often, but it is beyond delicious. I think I could eat some variation of this every night!

So here you have it [drum roll please]… Zucchini Pasta!

Yes that is correct, zucchini made into noodles! Now this dish does require some effort and an interesting gadget, but it only takes about half an hour from start to finish. First, you have to get yourself one of these nifty “spiral vegetable slicers”… You can find them online for about $40 bucks, [check out this site: http://www.rawnutrition.ca/html/spiral_slicer.html ] or do a Google search – if you have any patience, this is the best way to buy. I couldn’t wait to try it so I bought one at Ma Cuisine in Ottawa for $80, although it was double the price, I still think it is worth it.

Here is what I use:

Step one… Figure out how to use this tool. The English instructions were extremely brief so I just decided to wing it. With this tool, you will have to cut your zucchini in half, or maybe even into thirds depending on the side. Try to choose the straightest zucchini you can and make sure you wash them well because you will be eating the skin too. You can see what it looks like in the picture below, but I’ll try to explain. Basically, there are some pieces of plastic that protrude from the top of the handle and there is one metal spike just in front of the blade. You have to fit your zucchini pieces in there lengthwise. Once you’ve done that all you have to do is spin… and spin…. and spin… and spin…. oh and then spin again. This part kind of takes a while, but I promise it is worth it.

You’ll end up with something like this:


When I am cooking for two I usually use five zucchinis. Yes, five – once you heat the noodles and get rid of all the water, they shrink down to about half the amount. Plus, what is better than extra veggies? We could all use another helping of delicious greens!

Use a frying pan and cook them at medium – high on the stove top. I don’t add anything to the pan, I find the moisture in the zucchini is enough to make sure they don’t stick. The cooking process only takes about 15 minutes, it is really just to heat them and get rid of some of the water. During this time you can make your sauce!

I used fresh spicy tomato sauce from my favourite Ottawa grocer, La Bottega and added extra lean ground turkey, onion and bok choy. You can really use whatever you like though.

   Now all you have to do is drain the “noodles” in a strainer to get rid of any remaining moisture. I usually press down on them with something heavy, or just a spatula and some brute force… kidding… kind of.

Serve and enjoy!

It is hard to see the noodles under my excessive pile of sauce but they are delicious! If you are trying to incorporate more veggies into your meals, this is a great option. You really feel like you’re eat spaghetti.

You don’t have to use zucchini, try it out with other veggies! I am so happy I bought this crazy contraption – I highly recommend it!

This gallery contains 7 photos